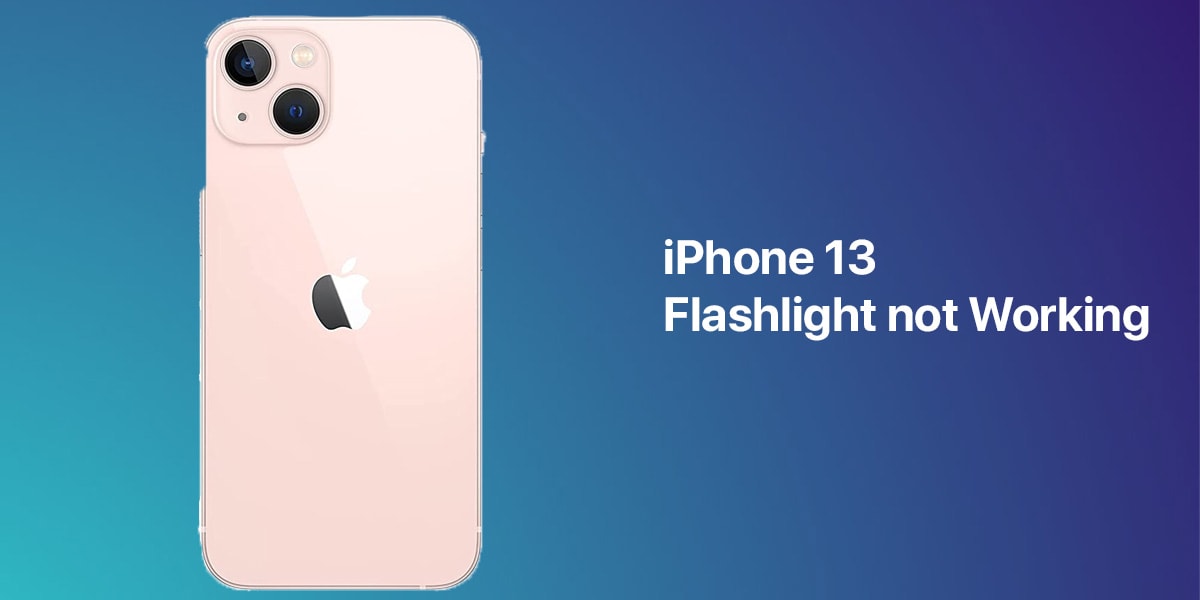
When your iPhone’s flashlight stops working, don’t fumble in the dark; instead, try these troubleshooting steps.
The days of searching for a flashlight in a forgotten drawer or storage box, worrying about whether you still have the necessary batteries to turn it on or groaning in irritation when it’s not bright enough are long gone. Nowadays, you can just resort to your multi-functional iPhone. That is, assuming your iPhone’s flashlight is functional.
When your iPhone’s flashlight stops working and you see a grayed-out flashlight icon, it’s a huge inconvenience. So let’s take a look at the various solutions available to you.
1. Disable Low Power Mode
Low Power Mode disables various iPhone capabilities to save battery power. When it is turned on, the color of your battery level changes from green to yellow. When your battery percentage falls below 20%, the Low Power Mode dialogue appears automatically. If you want to save battery life, you can keep your iPhone in Low Power Mode at all times.
However, your iPhone’s flashlight is frequently one of the capabilities deactivated by this mode. To disable Low Power Mode, open the Settings app, pick Battery, and then press to disable Low Power Mode.
2. Charge Your iPhone
Even when you turn off Low Power Mode, your iPhone’s flashlight may still not operate. This could simply be due to your device not having enough battery power to support the feature at the time. As a result, you should connect your iPhone to a power source and begin charging it. When your iPhone’s battery is fully charged, the flashlight feature should resume operation.
3. Check Your iPhone Isn’t Too Hot
The flashlight on your iPhone may cease working if it becomes too hot. It’s not a good idea to keep using a hot iPhone. If your device reaches a certain temperature, it will shut off until it cools down. If the temperature rises too high, a warning will show on the screen.
4. Take the flashlight out of the control center
One possible solution to your iPhone’s flashlight not working is to remove the flashlight option from the Control Center and then re-add it. Here’s how it’s done:
- Navigate to the Settings app. Choose the Control Center.
- Tap the red minus (-) icon for Flashlight under Included Controls (or Torch, in some regions). To confirm, tap Remove.
- Scroll down to the More Controls area to re-add the flashlight.
- The flashlight can be accessed by tapping the plus (+) icon.
5. Exit the iPhone Camera App
The flash function on your iPhone’s camera emits the same light as the flashlight. It’s usual to see the Control Center’s flashlight symbol greyed out if you have the Camera app open. This is because you cannot use both functionalities at the same time.
Simply close the Camera app and return to your Control Center to resolve this. You should now be able to select the flashlight button as usual.
6. Use the Camera Flash to turn on your flashlight.
If you can’t switch on your iPhone’s flashlight from the Control Center, a workaround is to activate the flash function in the Camera app. Here’s how it’s done:
- Go to Video mode in the Camera app.
- To access more options, swipe up from the bottom menu (on the word, Video).
- Select the Flash icon. Choose On.
Always be Updated with us visit GeeksULTD for Real-time Updates


